January and February are difficult months for gardeners living in northern climes. There’s just not much you can do when the ground is frozen and covered with snow. Plus, it’s still too early to do much indoor seed starting.
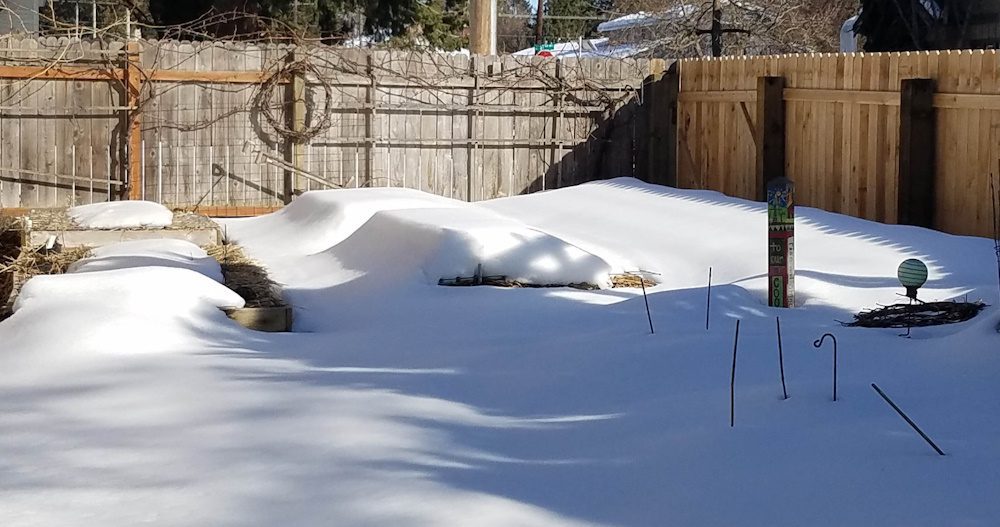
Thankfully, it is the perfect time for winter sowing – a method of starting seeds outside in late winter, usually between January and March, for spring transplanting. You’re surely wondering how this is even possible in our cold, Idaho climate? It’s completely doable, easy, and fun with the help of a few items you probably have in your house right now.
Winter sown seeds are planted in recycled containers, like milk jugs or plastic food containers, and then placed outdoors – yes, in the cold, wet, snowy, frozen winter – where Mother Nature will trigger germination at just the right time for the plant.
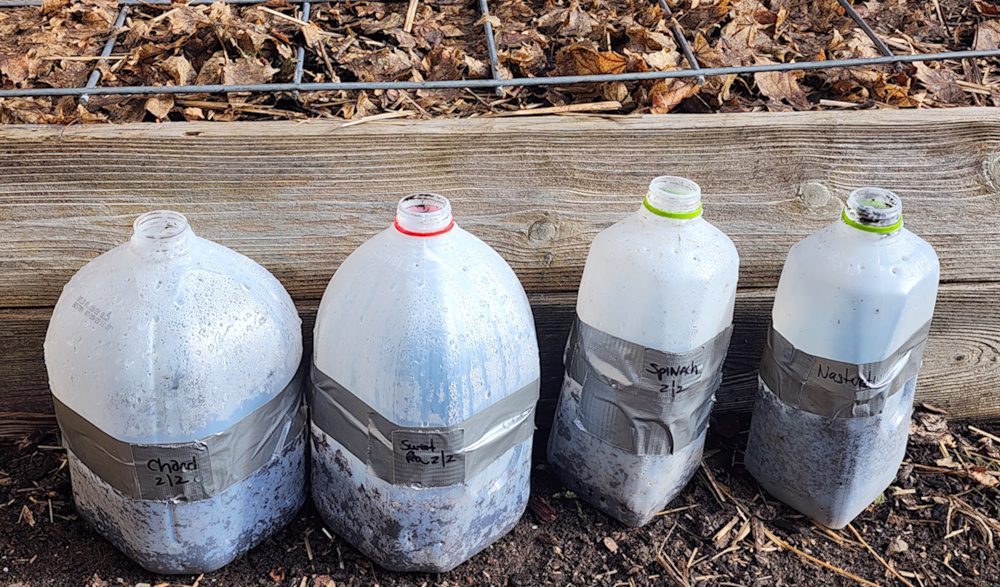
Of course, during the coldest periods nothing is actually growing, although seeds that need a cold period to break dormancy (known as stratification) will get it. As the days lengthen and warm, the seeds will begin to germinate and grow into very hardy seedlings.
Benefits of Winter Sowing
In addition to the simplicity and ease of starting vegetables, herbs, and flowers with winter sowing, here are a few other great benefits:
- It saves money. Only a few, low-cost and recycled supplies are needed; expensive seed starting equipment is not required.
- It saves energy. There is no need for grow lights or heat germination mats. Mother Nature provides the light and heat (in time).
- It saves space by using dormant outdoor garden space. Winter sowing frees up indoor sowing space for warm-season crops.
- There’s no seed-sowing schedule. No need to worry about last frost dates or sowing timing; seeds germinate when the conditions are right for them.
- It provides natural stratification for chemically dormant seeds that require a cold period to break dormancy.
- There’s little risk of fungal diseases caused by poor air circulation and over-watering commonly found with indoor sowing.
- It’s a time saver. Winter sowing reduces or eliminates the need to harden off seedling transplants in the spring.
What to Sow
Cool-season vegetables, perennials, and hardy annual flowers are great choices for winter sowing. Get a jump on your spring garden by winter sowing broccoli, kale, spinach, lettuce, peas, and chard.
While it is possible to winter sow warm-season crops like tomatoes and peppers, the timing is later in the spring when the weather is warmer. Warm-season crops require warm soil to germinate (at least 70+ degrees F), and while the mini-greenhouse effect of a milk jug can provide heat during the day, it’s likely that the soil temperature will drop considerably in the overnight hours. You may find better success starting warm-season crops indoors.
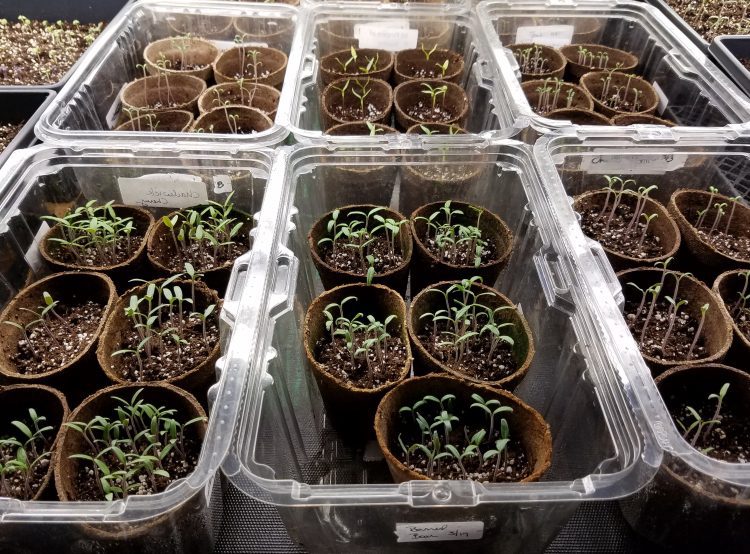
Many flowers and herbs, especially those that require cold stratification (cone flowers, milkweed or rosemary), are excellent choices for winter sowing as well. Since winter sowing is such a low-cost growing method, experiment with differ seeds to see how they grow!
Cool-Season Vegetables
Arugula, Asian Greens, Bok Choi, Broccoli, Brussels sprouts, Cabbage, Cauliflower, Chard, Cress, Kale, Lettuce, Peas, Radish, Spinach, and Spring Onions.
Herbs
Thyme, Sage, Chives, Parsley, Oregano, Dill, Mint, and Rosemary.
Flowers
Snapdragon, Sweet Pea, Pansy, Nasturtium, Cone Flower, Milkweed, Poppy, Salvia, Zinnia, Marigold, Bee Balm, Dianthus, Shasta Daisy, Black-Eyed Susan, and many others.
Simple Supplies for Winter Sowing
Containers
Almost any recycled plastic container can be used for winter sowing – opaque milk and water jugs, 2-liter soda bottles, food containers with clear lids, even small plastic totes (shoe box size) – will work. It just needs to hold 3 to 4 inches of soil and have drainage holes in the bottom.
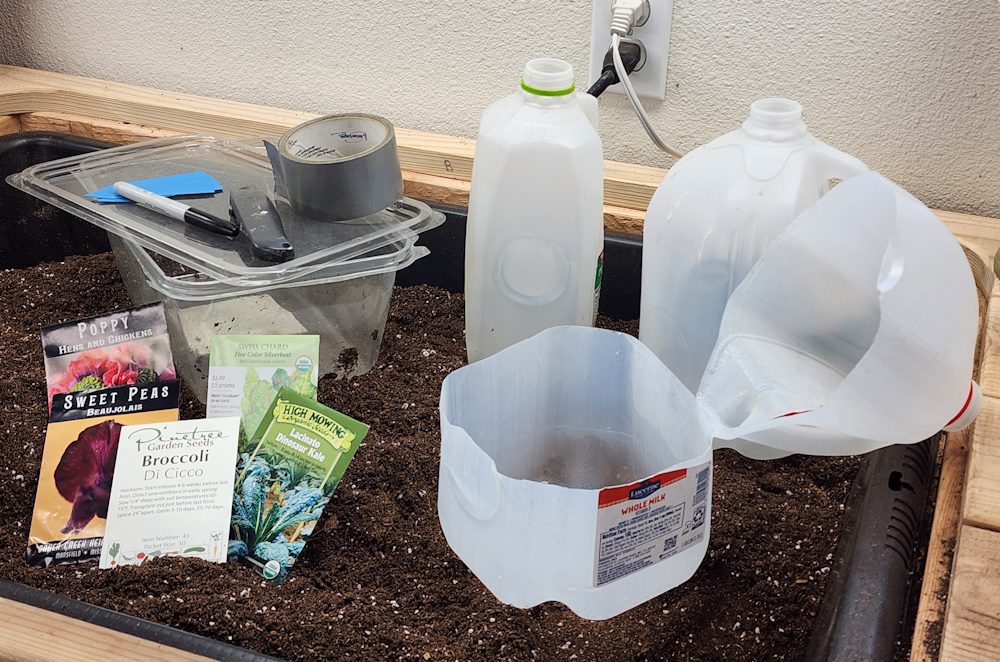
Plastic milk and water bottles have worked the best in my experience – they tend to be a bit sturdier and the opaque plastic protects emerging seedlings from the sun/heat better than clear plastic containers.
Prepping and Planting
For milk jugs, remove the cap (it’s not needed) and thoroughly rinse the container. Next, using an awl (nail or scissor), punch several drainage holes in the bottom of the container and around the container’s neck. Next, using a scissor or box knife, cut the jug in half, just below the handle, leaving the area under the handle intact.
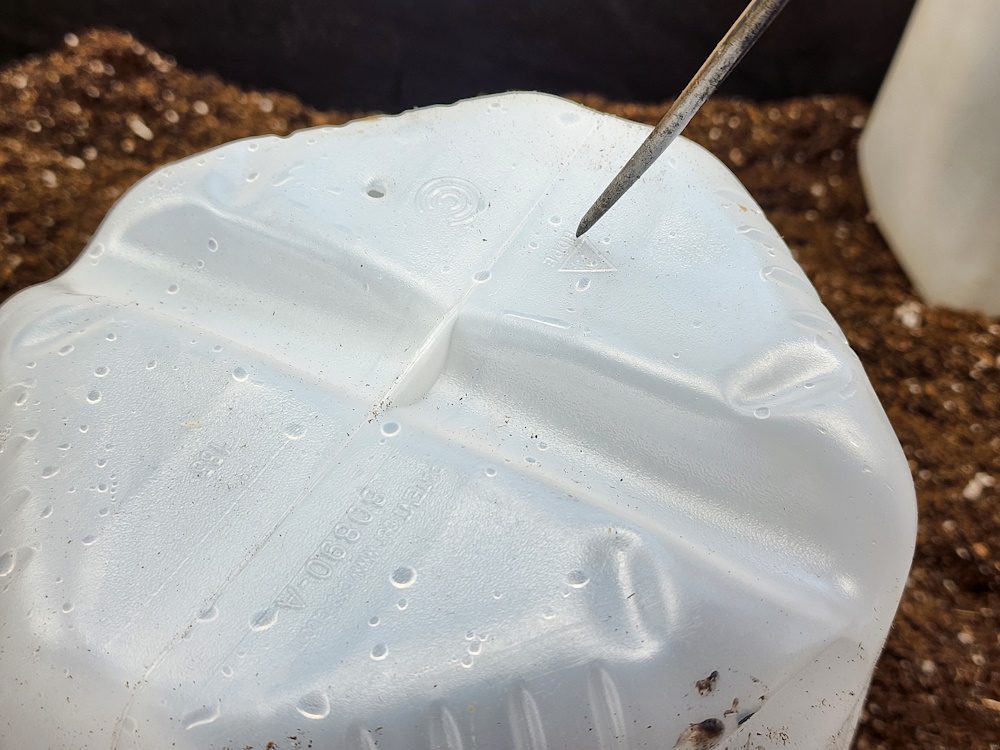
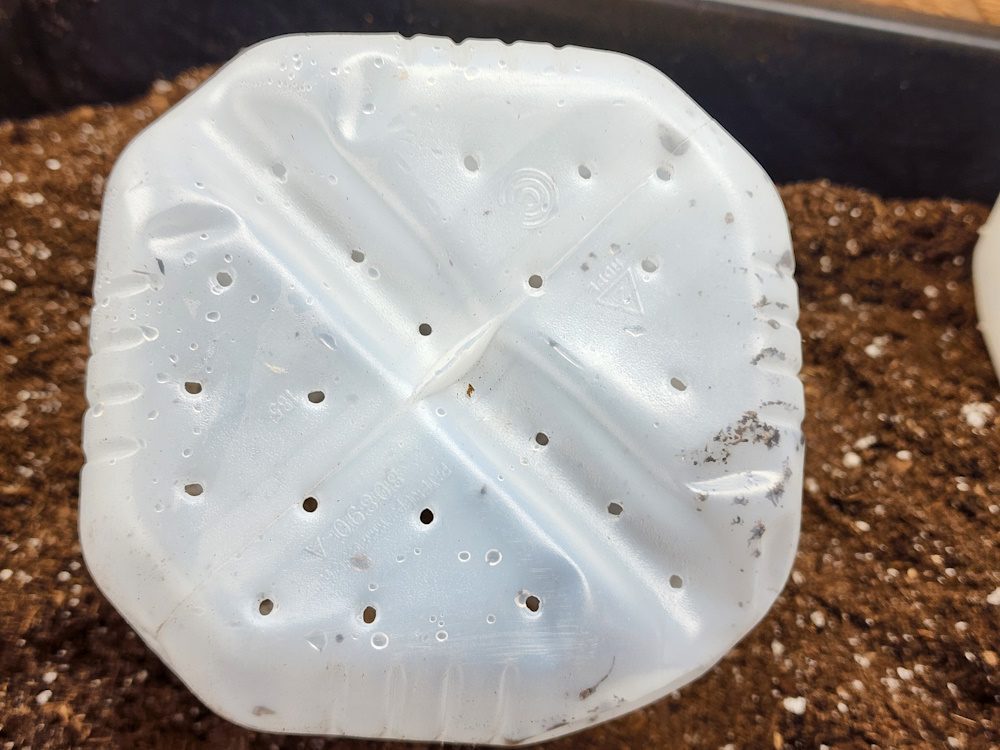
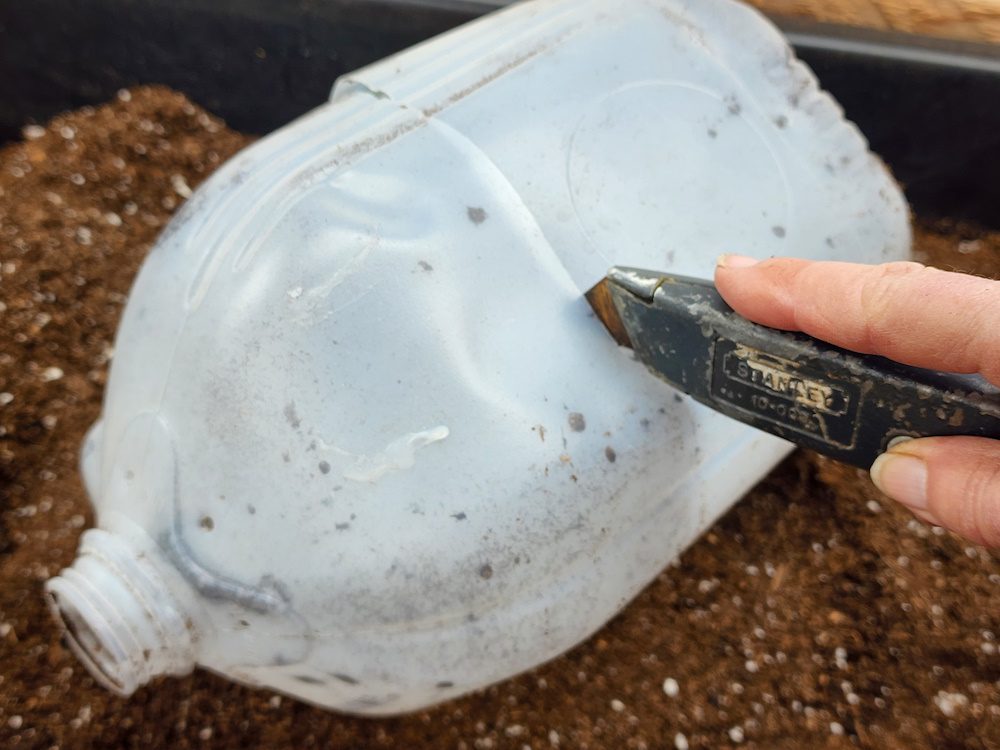
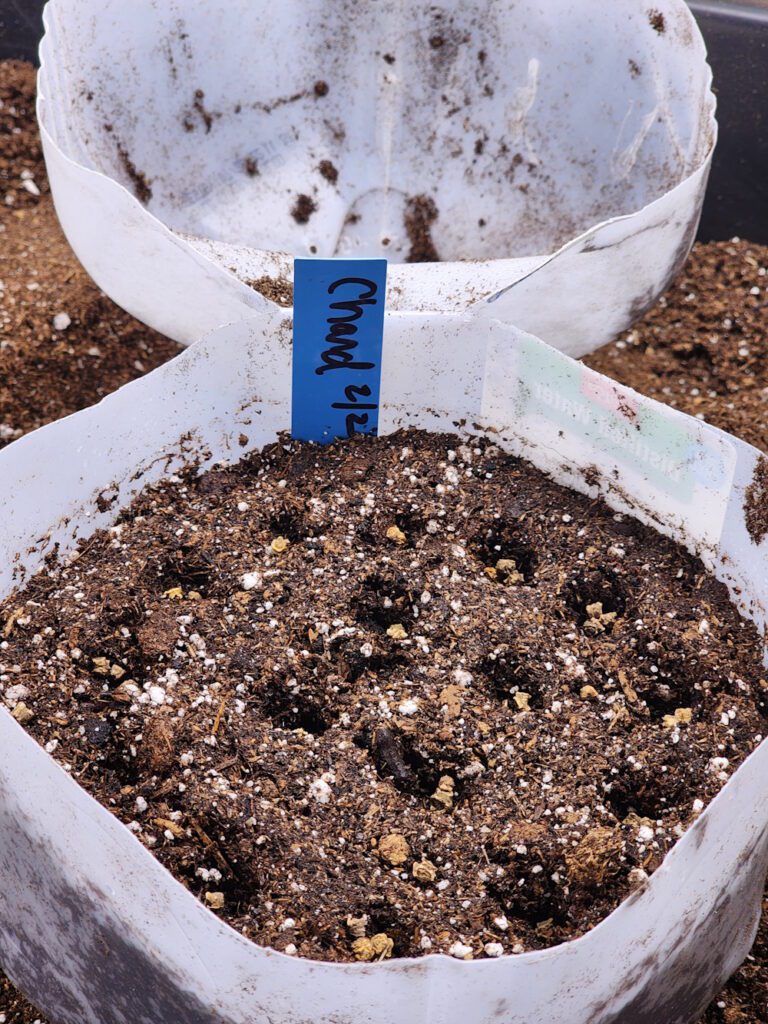
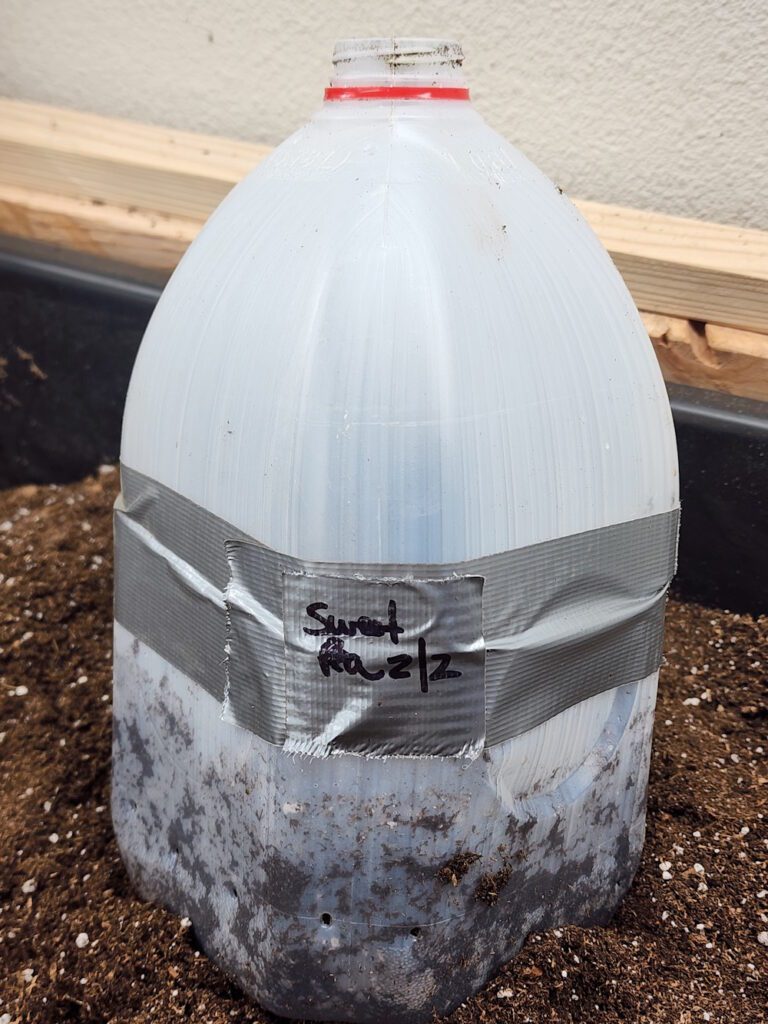
Fold back the halves and fill the container with moist potting mix. If small seeds are being sown, add a layer of seed starting medium on top of the potting mix for better germination. Sow seeds as directed on the seed packet and water thoroughly. Insert a plant label with the variety and date sown and then seal the container with duct tape. It’s a good idea to label the outside of the container too.
Time to Go Outside
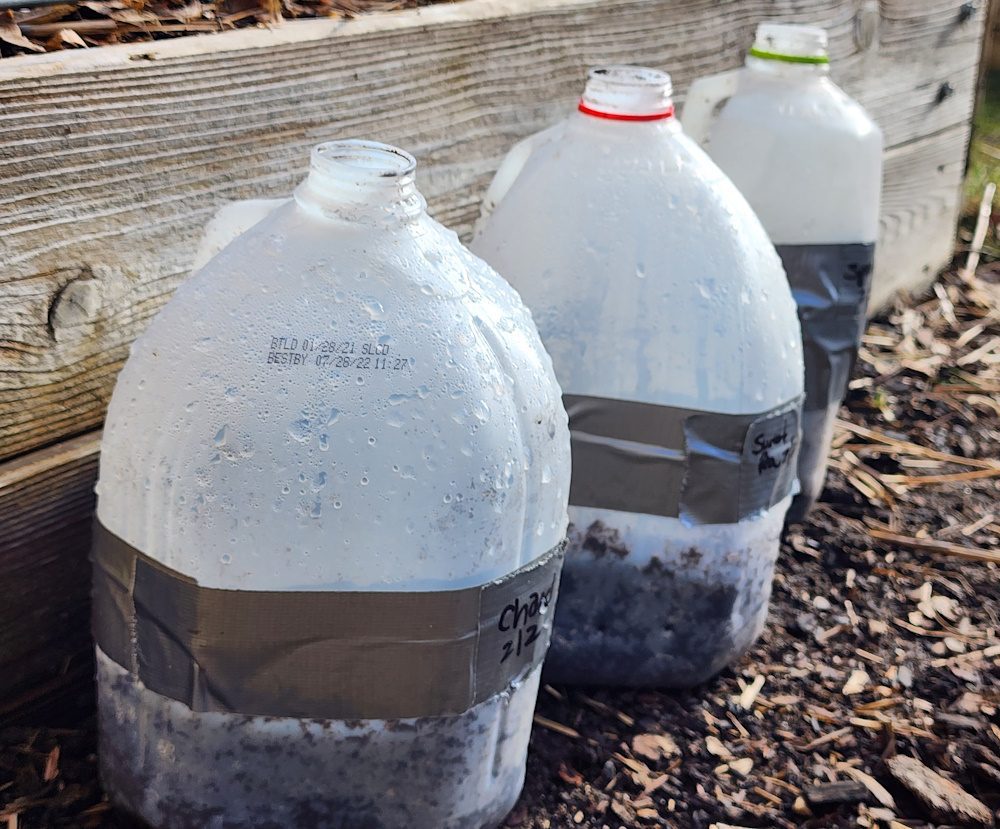
Place the containers outside where they will receive moisture, but somewhat protected from wind. An eastern exposure with morning sun and some afternoon shade works well. This will provide enough warmth for germination, but will help avoid drying out or burning tender seedlings when temperatures start to warm up.
Germination and Planting On
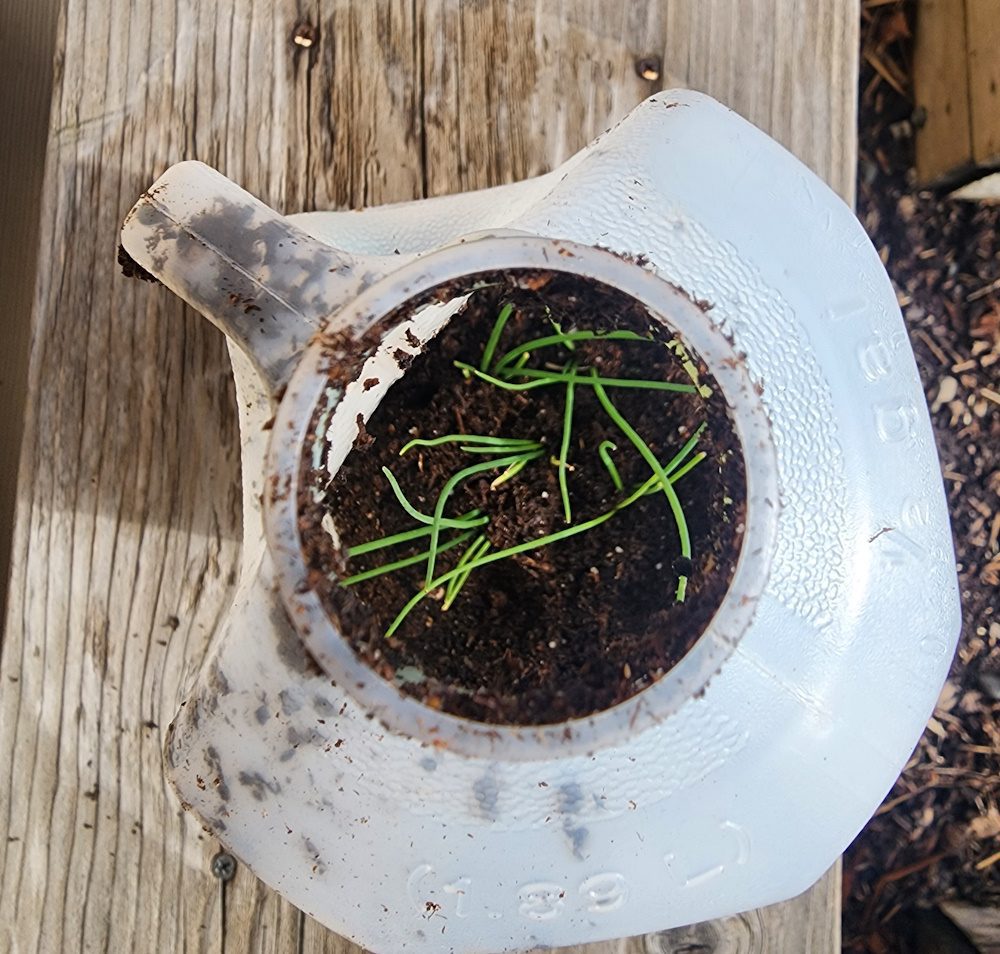
So how long does winter sowing take? That depends on the seed, the weather, and Mother Nature. When the time is right, your seeds will germinate — so you need to be patient.
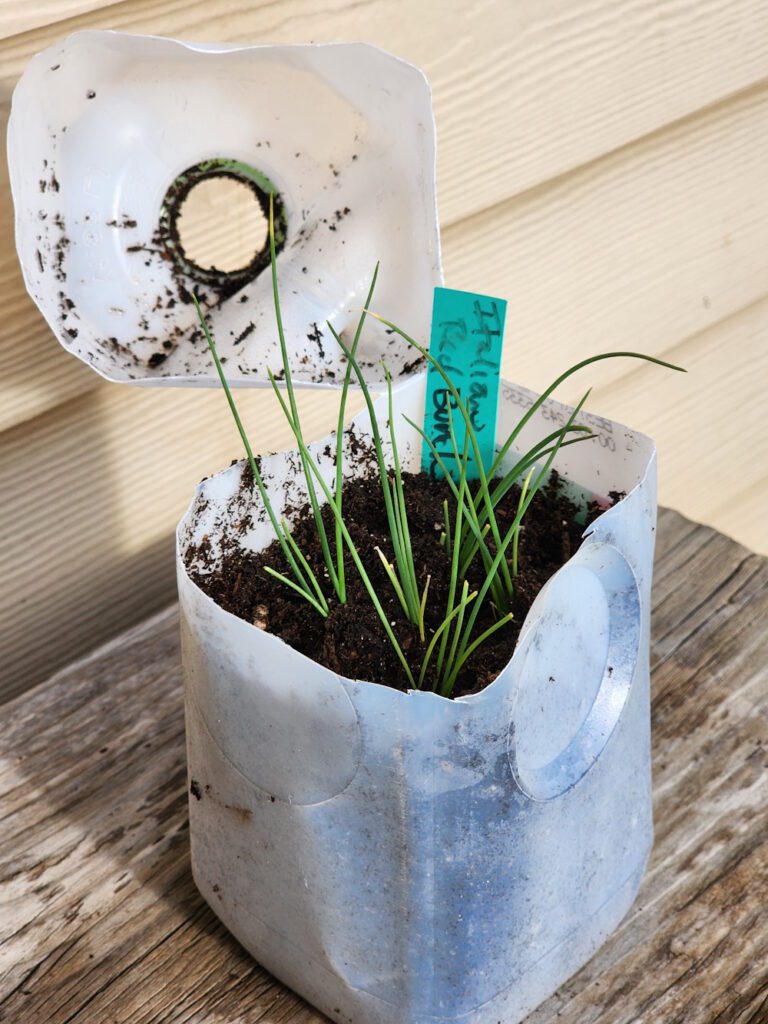
Check the container periodically and water gently through the top opening if needed. Once your seedling emerge check more frequently to ensure that there is adequate moisture and that it’s not too warm. As the seedlings develop, you may need to remove the duct tape and open the contain to allow for more air circulation.
Winter sown seedlings are already harden off and acclimated to the growing conditions. Once the garden soil is warmed and workable and and your seedlings have a few sets of true leaves, it’s time to plant them out into your garden.
Winter sowing is an easy and affordable way to get a jump on your spring garden and scratch the itch to start seeds in the winter!
Are you winter sowing this year? What are you growing? I’d love to hear your experiences with winter sowing — leave a comment below!


Leave a Reply