“So many seeds, so little garden space”
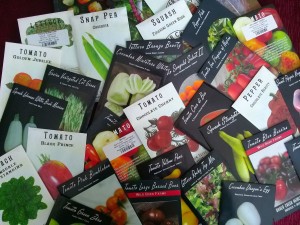
If you’re a gardener, you’ve probably amassed a collection of partially-used seed packets and/or seeds saved from the garden.
Over time, seed accumulation just happens. We buy more than we need with a rationalization that goes something like this: “why purchase a packet of 25 seeds, when I can buy a 1/4 pound for just a couple of dollars more? Oh never mind that you’re planning to plant said seeds in a container!
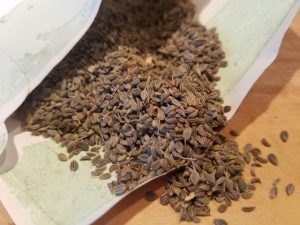
Home seed savers are just as guilty (or more so): last summer, I managed to collect at least 10,000 Italian flat leaf parsley seeds — enough to plant for a lifetime (except parsley’s seed life is approximately two years). And, it’s not like that parsley hasn’t already self-seeded in the garden (I’ll be digging parsley starts all spring).
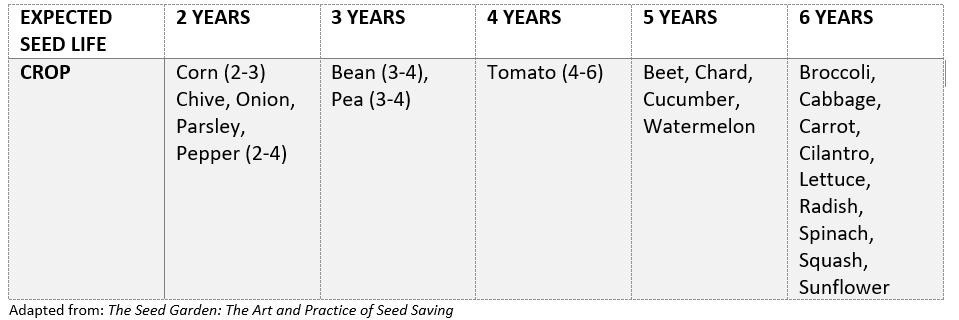
Seed Life Expectancy
Like the can of green beans in your pantry, the green bean seeds in your garden shed have a shelf life too. So the question is, will that jumbo-sized envelope of beans stamped “packed for 2016” still be worth planting this spring? In theory, yes. Beans have an expected seed life of 3 to 4 years. However, a seed’s viability also depends on how it was stored. When stored in moisture-proof containers and kept in a cool location with low-humidity, vegetable seeds can remain viable from 2 to 6 years. When held in cold storage (refrigerated or frozen) the expected seed life can be extended 20 years or more.
Expected Seed Life of Common Garden Vegetables
Why do a Germination Test?
If you find yourself with seeds that were subjected to iffy storage, or have been hanging around a while, or are of questionable origin (seed swaps, neighbors, smuggled from abroad — shhh!), a simple germination test can assess seed viability before sowing. For the seed saver, a germination test is helpful to assess quality after seed harvest and before storing. The bottom line is no gardener wants to spend time and effort planting seeds that won’t germinate.
How to Prepare a Germination Test
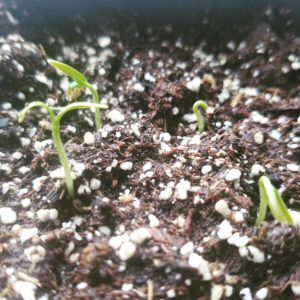
A germination test requires little equipment and is easy to do. You can use a good seed starting mix in a growing container (a plastic lettuce bin with a lid works great), or a paper towel or coffee filter and a plastic zip bag.
If you use a soil mix, it’s no different than starting seedlings. In fact, if the timing is right, you may be able to grow out the seedlings and transplant them into the garden.
Each vegetable has a specific temperature requirement that it needs for germination. While a plant heat mat will help germination, it’s not required (although germination time may take a bit longer).
Germination Test Parameters of Common Vegetables

Germination Test Steps
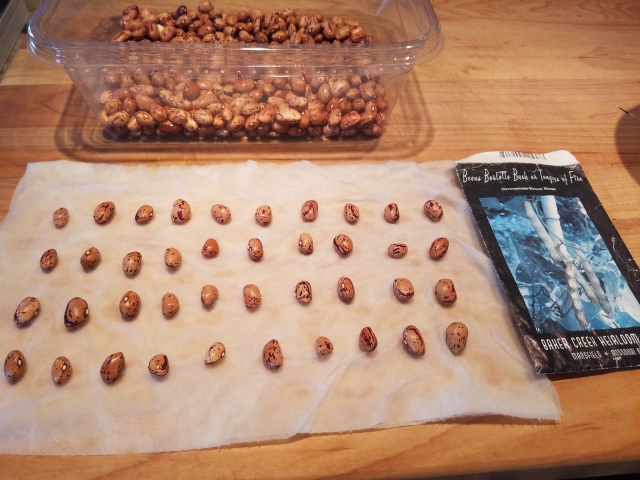
To start, randomly select 10 to 20 seeds – count the seeds out – don’t estimate. You’ll need an exact count to calculate the rate of germination (yes, we’ll be doing a little math!).
Label each test with the date, plant variety, and number of seeds.
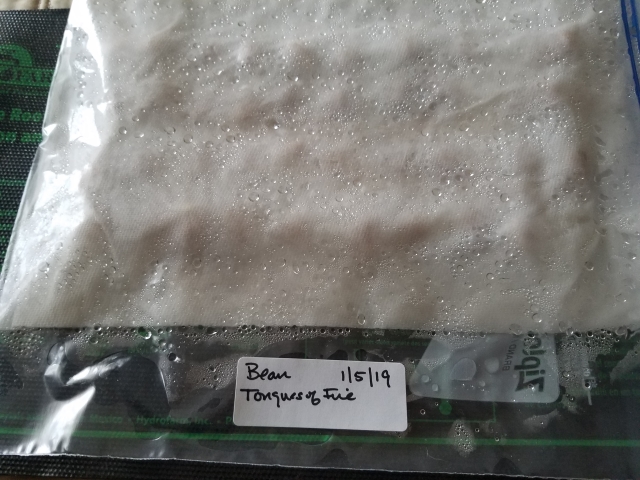
For the paper towel method, slightly dampen two sheets with a spray bottle — you don’t want the towels dripping with water, but they do need to be damp — and remain that way.
Place the seeds about 1/2 inch apart and either fold the towel in half or place another dampened towel on top. The towels can be left flat or rolled into a tube. For larger seeds, like bean and peas, the flat method works best.
Place the towels into an open plastic zip bag (don’t seal it), labeled with the date, variety, and number of seeds. Keep the towel moist for the duration of the test.
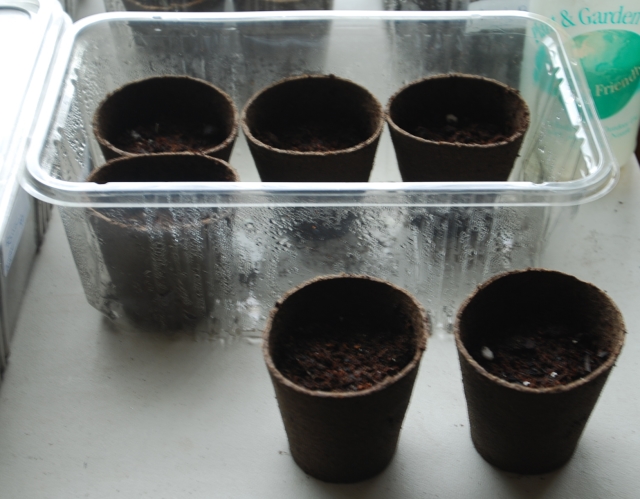
If using seed starting mix, slightly dampen the seed starting mix and plant seeds in rows. Cover the container with a lid or plastic and label the container.
You’ll want to place your test where the temperature best meets the germination requirements of the seed. Keep the soil moist during the testing period.
Check on your test after 3 days or on the recommended schedule for the seed. Count and remove any seeds that have germinated (unless these are in a soil mix and you’re planning to transplant). Also remove any seed that is moldy or rotting. Note the number of germinated seeds and continue to count for the duration of the test.
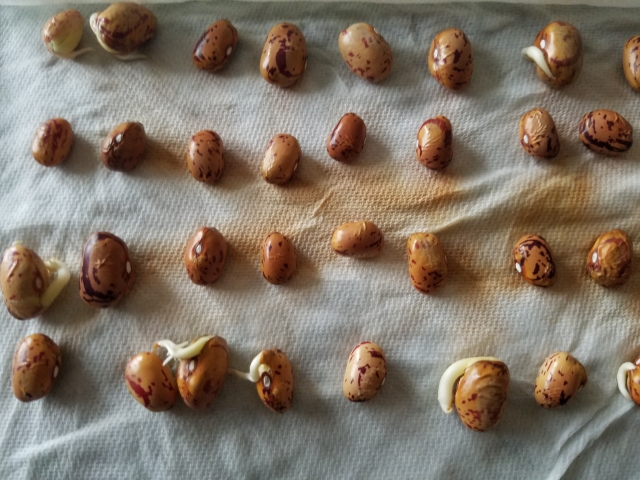
Once your test is complete, it’s time to calculate the germination rate (this is the math part). Divide the number of germinated seeds — those with healthy roots and shoots — by the total number of seeds tested; then multiply by 100. For example: a test consists of 15 bean seeds; 12 germinate; 3 are duds (rotted, stunted, never sprouted). 12 / 15 = .80 x 100 = 80. The germination rate is 80 percent — these are perfectly viable and fine for planting.
Taking Inventory
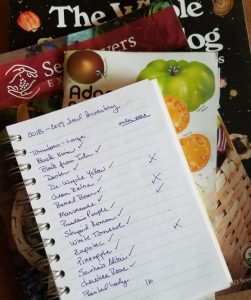
Late winter is a good time to do a seed inventory. Reviewing your seed stocks will help you know what your need to replenish and what seeds may require a germination test before planting season arrives.
If you’re like me, you hate the thought of tossing out any seed. But save yourself from frustration — check seed packing dates and do a little test run before heading out to the garden. While the weather outside is still cold, you could be experiencing the thrill of seeing tiny seedlings emerge from the soil. What a nice treat on a cold, winter’s day.
Questions about germination testing? Send me a note here or leave a comment below!
This article is the first in a series on growing from seed and seed saving for home gardeners. Subsequent articles over the season will include topics on starting plants from seed, common seed starting mistakes to avoid, planning a seed saving garden, seed saving basics, and seed storage. I welcome your comments below! — Candace


[…] Money Saver: A packet of seed is relatively inexpensive when compared to purchasing plant starts. Most packets contain more seed than you will use in a season – providing your garden with ample plants and seeds to share with friends or save for next year. When stored properly, many vegetable seeds last from 2 to 6 years. […]